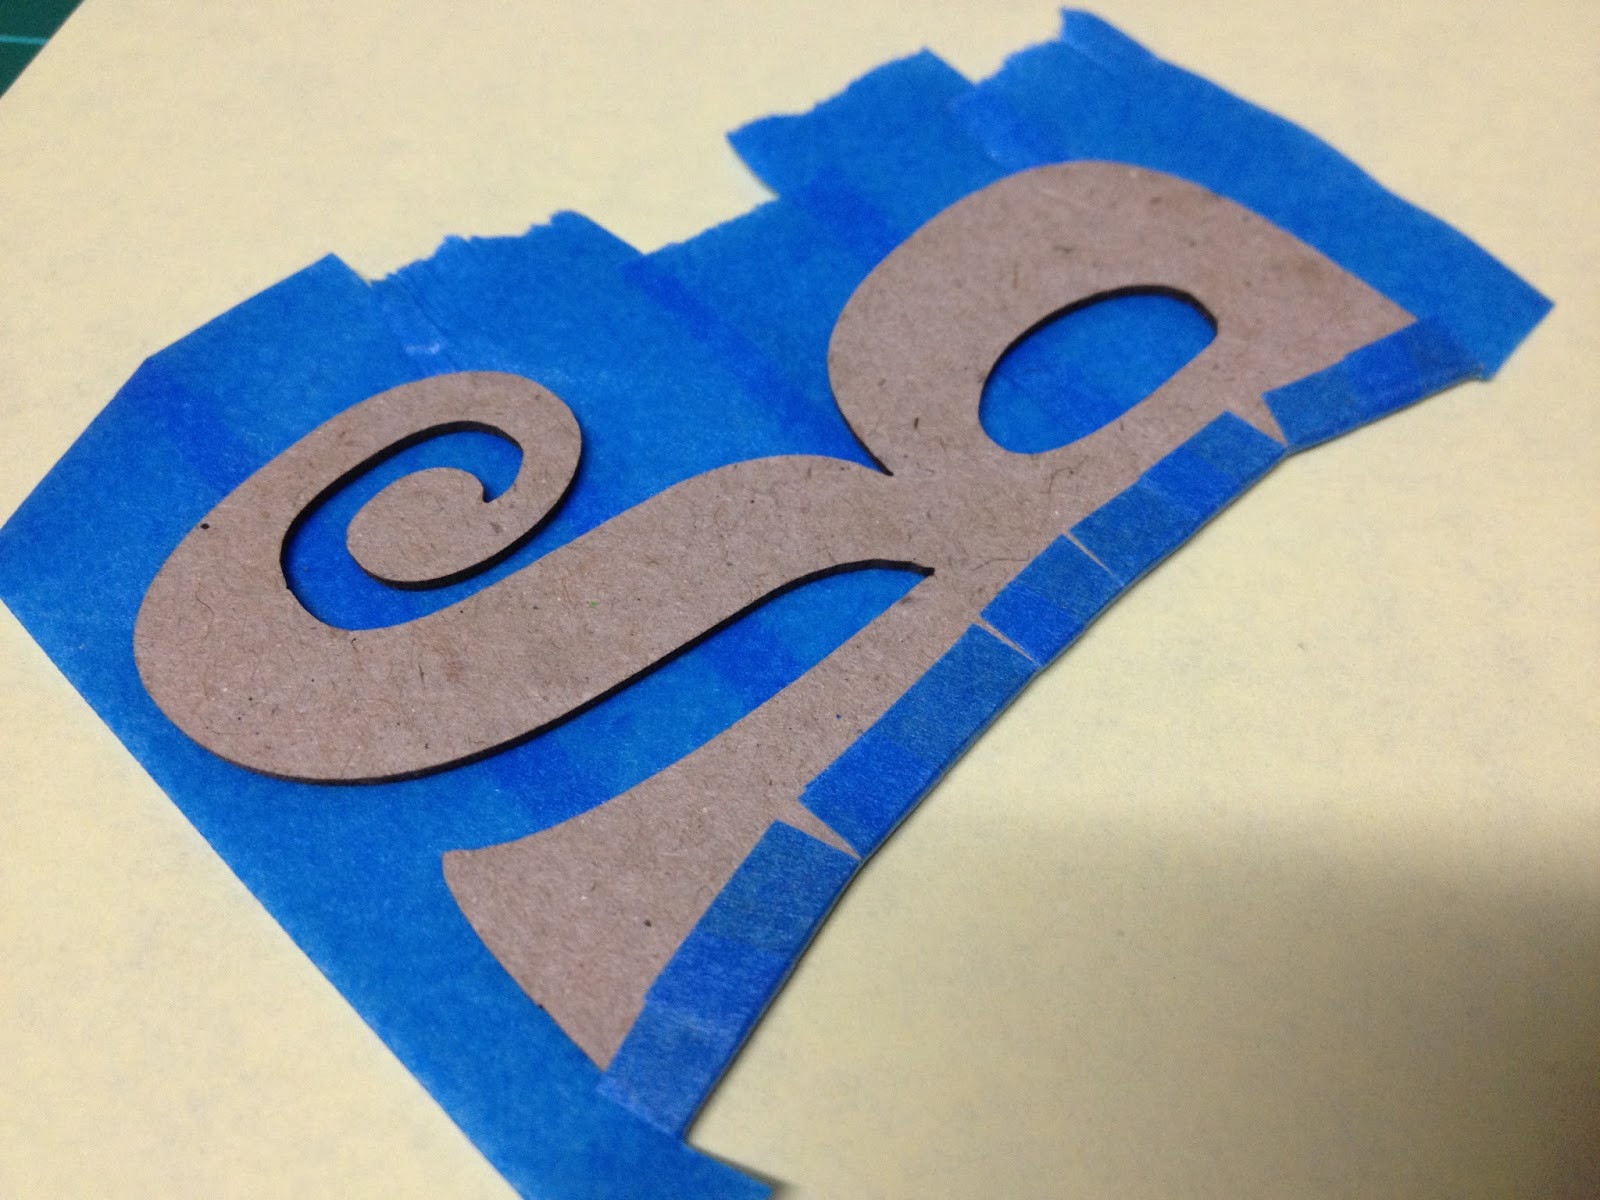
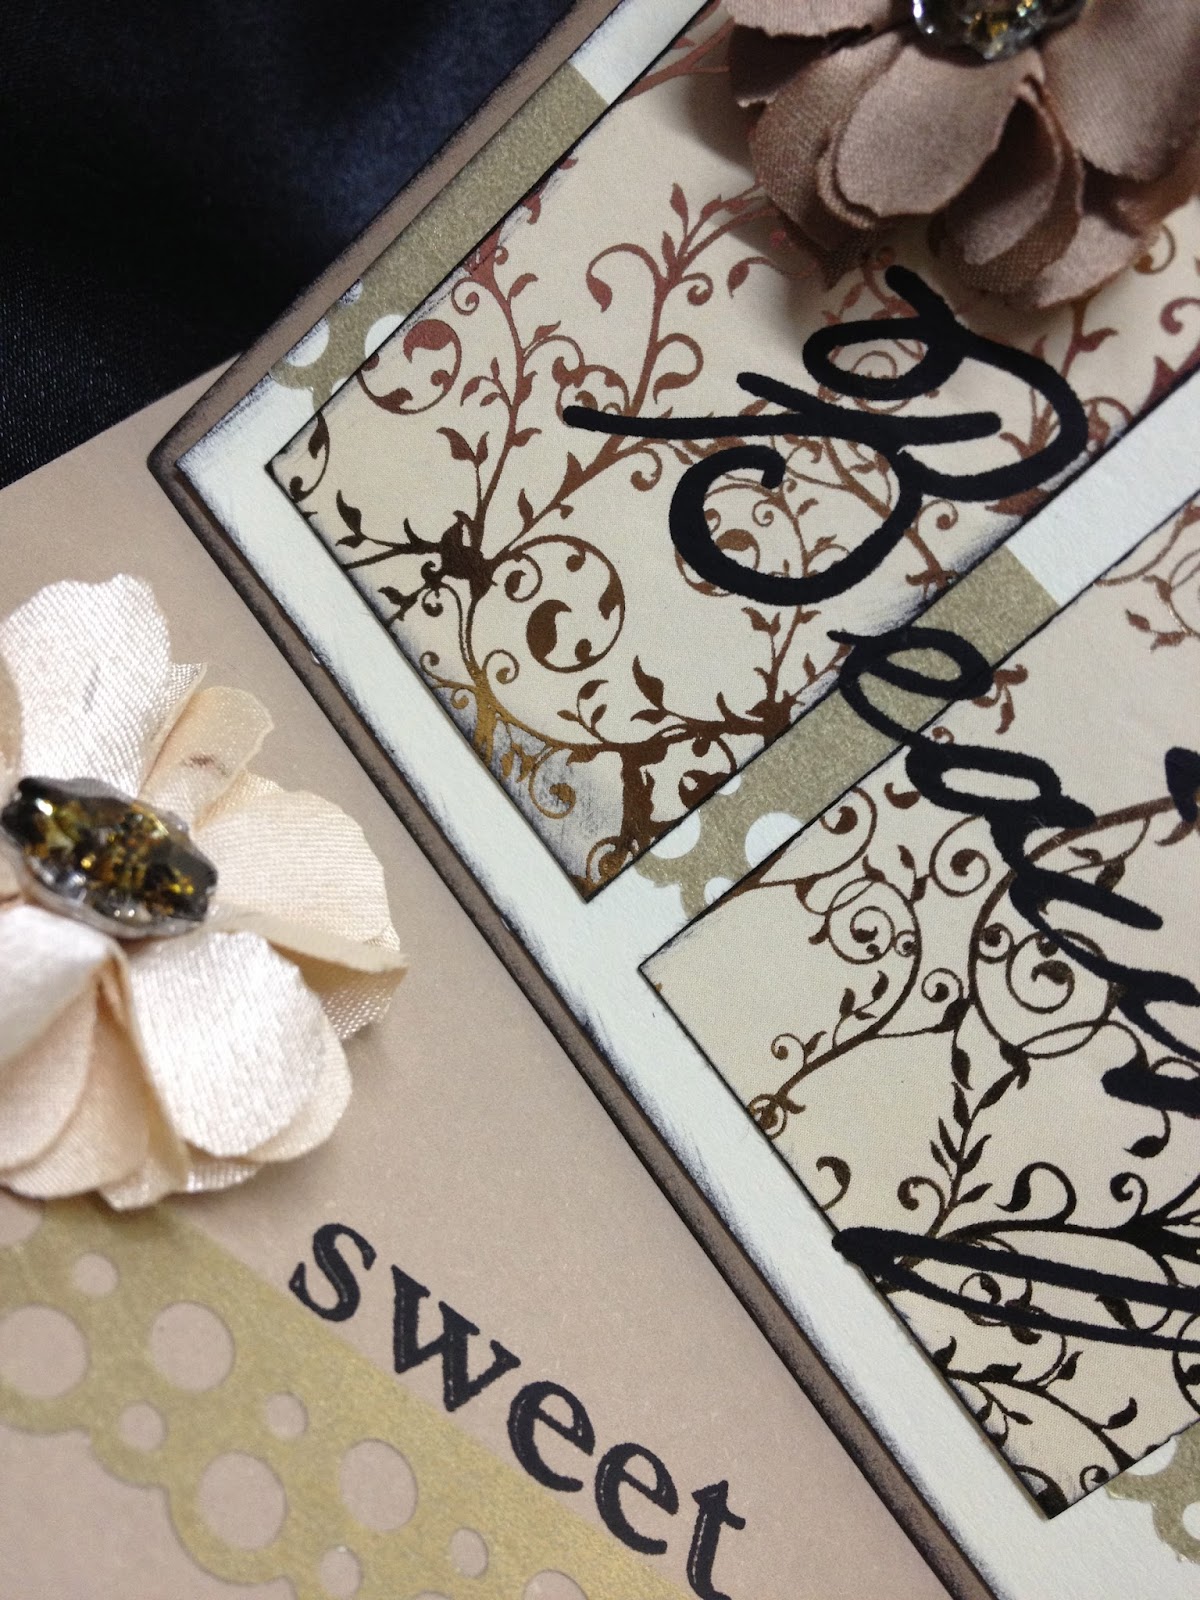
Hope you like them!!
These cards were all made with Close to my heart (CTMH) stamps, inks, pencils, and embellishments :-)
Showing posts with label Washi. Show all posts
Monday, February 16, 2015
Tuesday, August 27, 2013
Just for you
Love this card! A simple one - putting both Washi and sticky paper through my bigshot and then just lining them up and sticking to the front of the card. A quick stamped "sentiment", a little doily die from Memory box, and a flair to top it all off!
Try putting your washi through your die-cutter, it's easier than you think! Check out my tutorial Here
Thanks for stopping by!
Jen
:-)
Try putting your washi through your die-cutter, it's easier than you think! Check out my tutorial Here
Thanks for stopping by!
Jen
:-)
Sunday, August 25, 2013
Click Click Click
Hi Everyone, just a quick peek at my latest layout :-)
I fell in love with these beautiful Framed Sentiment Embellishment that Tracy hand makes immediately and knew straight away how I wanted to use it and what photo to put with it!!
It's no secret that I love Washi Tape (or Wasabi Tape as Tracy affectionally refers to it :-P) and i was super excited when she got these in so of course - they had to go on the layout too!
Full layout details can be seen over at the my2angels blog.
Thanks for stopping by!
Jennifer
:-)
Tuesday, June 25, 2013
Me & You
I LOVE this layout of Erin and I, it's in our favourite colours too.
I started with a piece of embossed white card stock and sponged Distress Inks on to give definition. I also used the ink and water to colour the tag. I coloured the chipboard pieces (title, frame, and butterfly) with Liquid Pearls - applied by dabbing my finger onto the chipboard one colour at a time. I coloured washi tape first with alcohol inks, then liquid pearls and ran it through my big shot with a die to get the cute shape, then just peeled it off and stuck it to my project.
I coloured the leaves with alcohol inks, and the edges of the flowers with liquid pearls and distress inks.
I added Flourish With A Bling pearls to the butterfly and as a movement indicator with the flourish, the pin, daughter charm, and the date was printed on clear dymo tape.
Ingredients:
Embossed Cardstock
Twiddleybitz Chipboard - "Me & You"
Twiddleybitz Chipboard - Ornate Frame
Twiddleybitz Chipboard - Butterfly
Manilla Tag
Ranger/Tim Holtz Distress Ink - Seedless Preserve
Ranger/Tim Holtz Distress Ink - Salty Ocean
Ranger/Tim Holtz Distress Ink - Peacock Feathers
I started with a piece of embossed white card stock and sponged Distress Inks on to give definition. I also used the ink and water to colour the tag. I coloured the chipboard pieces (title, frame, and butterfly) with Liquid Pearls - applied by dabbing my finger onto the chipboard one colour at a time. I coloured washi tape first with alcohol inks, then liquid pearls and ran it through my big shot with a die to get the cute shape, then just peeled it off and stuck it to my project.
I coloured the leaves with alcohol inks, and the edges of the flowers with liquid pearls and distress inks.
I added Flourish With A Bling pearls to the butterfly and as a movement indicator with the flourish, the pin, daughter charm, and the date was printed on clear dymo tape.
Ingredients:
Embossed Cardstock
Twiddleybitz Chipboard - "Me & You"
Twiddleybitz Chipboard - Ornate Frame
Twiddleybitz Chipboard - Butterfly
Manilla Tag
Ranger/Tim Holtz Distress Ink - Seedless Preserve
Ranger/Tim Holtz Distress Ink - Salty Ocean
Ranger/Tim Holtz Distress Ink - Peacock Feathers
Ranger Alcohol Ink - Wild Plum
Ranger Alcohol Ink - Sail Boat Blue
Ranger Alcohol Ink - Clover
Ranger/Tim Holtz Distress Stain - Picket Fence.
Ranger Liquid Pearls - Orchid
Ranger Liquid Pearls - Lavender Lace
Ranger Liquid Pearls - Baby Blue
Ranger Liquid Pearls - Peacock
Ranger Liquid Pearls - Mint Green
My2Angels - leaves
My2Angels - Roses
My2Angels - Charming Pin
My2Angels - Charming "Daughter"
Flourish With A Bling - Silver Diamonte
Flourish With A Bling - Chloe Flourish, Baby Blue
Sawyer's Place Washi Tape - Pale Blue
MPress Rolled Flower Die
Tsukineko Stazon Permanent Ink - Black
Miscellaneous Flower Stamp
Miscellaneous Music Stamp
I hope you like the techniques I've used today and try them for yourself! Thanks for stopping by!
Jen
:-)
Thursday, June 20, 2013
Tip 4: Die-ing with Washi (Follow-up)
A quick followup on Tip 4 and a sneak peak of a finished project using this technique!
I coloured some plain washi with alcohol inks, and put through the big shot - looks awesome, and you could use it straight away just like that! BUT
If you want to then colour with something like liquid pearls - they will dry and have a surrounding 'skin' that will ruin the project unless you cut it away or put it through your bigshot again!
A much better idea is to colour it first as below:
And add to your project :-)
For the full reveal - stay tuned for tomorrow night :-D
Thanks for stopping by!
Jen
:-)
I coloured some plain washi with alcohol inks, and put through the big shot - looks awesome, and you could use it straight away just like that! BUT
If you want to then colour with something like liquid pearls - they will dry and have a surrounding 'skin' that will ruin the project unless you cut it away or put it through your bigshot again!
A much better idea is to colour it first as below:
After it dries, put it through the big shot using your die:
And add to your project :-)
For the full reveal - stay tuned for tomorrow night :-D
Thanks for stopping by!
Jen
:-)
Friday, May 31, 2013
I am Me.
My Latest Layout - My last for FWAB :-(
Another purple layout but quite appropriate since the subject had to be me!! I have used the Jasmine Laser Flourish as a mask (i peeled of as much of the sticky backing as I could or it would tear my page) and inked with distress inks to create my background.
I used a gorgeous new pre-decorated bottlecap from My2Angels for my 'date' - I just added the year with a bit of glossy accents over it to tie it all in (as you know I'm trying to journal and date on my layouts now!)
The border is actually Sawyer's Place Ophelia Script Washi Tape put through my bigshot with a memory box die - Pepita Border #98256. I am somewhat addicted to putting my washi through my bigshot now! I recently discovered these dies and am in love!Ingredients:
White Cardstock
Ranger/Tim Holtz Distress ink - Dusty Concord
Flourish With A Bling - Jasmine Laser Flourish (used as a mask)
Flourish With A Bling - Purple Pearls
Flourish With A Bling - Jasmine Laser Flourish - Silver
Flourish With A Bling - Jasmine Puffy Flourish - Purple
Flourish With A Bling - Jessie Laser Flourish - Black
Flourish With A Bling - Elise Flouish Silver
My2Angels - Date bottle cap from Floral Charming Dates
My2Angels - Charming Bouquet Purple and Silver
My2Angels - Sparkling Flower Center from Mauve and Silver Charming Chain
ManorHouse Creations Purple Large Flower
Memory Box Die - Pepita Border # 98256
Memory Box Die - Ringed buckle #98186
Tsukineko Stazon Ink - Black
Patterned paper from ? for the Ringed Buckle
Miscellaneous Rub ons
Miscellaneous dark Purple flowers
Miscellaneous White ribbon in a bow
Thanks for stopping by!!
Jen
:-)
Thursday, May 30, 2013
A Love Note
Love this card!
Background made with Washi Tape. Layered the red to create a panel, I decided against using matte white washi to help with the transparency of the music washi over the red washi as I liked it a little see-through.
I used cut up strips, and panels of the black cromwell wash to cover the chipboard heart...
MIscellaneous - Washi Tape, White with Music
TFL - Mwah! XXX
Jen
Friday, May 24, 2013
Cherry Birthday!
Another recent creation, a fun card - layering washi...
Just layered the washi tapes on white card stock, matted on a pre-made black card. Added a white flower with a diamonte buckle and a Cherry Flair fit perfectly in the centre!!!
And of course I altered the envelope to match too...
Love the simplicity of this card :-)
Ingredients:
Sawyer's Place - Cherry Washi Tape
Sawyer's Place - White Matt Washi Tape
Sawyer's Place - Red Washi Tape
Sawyer's Place - Black n White Ophelia Script Washi Tape
Sawyer's Place - Black Cromwell Washi Tape
Sawyer's Place - Cherry Flair from the Bianca Collection of Flair
My2Angels - Round Silver Ribbon Slide or "Diamonte Buckle"
My2Angels - White flower from the 18 Mulberry butterfly and flower pack
White cardstock
Twiddleybitz pre-made black card and envelope
Thanks for stopping by!!
Jen
:-)
Just layered the washi tapes on white card stock, matted on a pre-made black card. Added a white flower with a diamonte buckle and a Cherry Flair fit perfectly in the centre!!!
And of course I altered the envelope to match too...
Ingredients:
Sawyer's Place - Cherry Washi Tape
Sawyer's Place - White Matt Washi Tape
Sawyer's Place - Red Washi Tape
Sawyer's Place - Black n White Ophelia Script Washi Tape
Sawyer's Place - Black Cromwell Washi Tape
Sawyer's Place - Cherry Flair from the Bianca Collection of Flair
My2Angels - Round Silver Ribbon Slide or "Diamonte Buckle"
My2Angels - White flower from the 18 Mulberry butterfly and flower pack
White cardstock
Twiddleybitz pre-made black card and envelope
Thanks for stopping by!!
Jen
:-)
Sunday, May 19, 2013
Tip 5: Washi Impressions
That's right - I have another one!! I'll get straight into it as I'm quite excited about this one!
Tip 5: Put your washi through your cuttlebug/bigshot with your embossing folders!
I've used Matte Aqua Washi Tape from Sawyer's Place for these examples; I'd love to see how you go trying this. Please share a link to your project in the comments below :-)
Thanks for stopping by!
Jen
:-)
Tip 5: Put your washi through your cuttlebug/bigshot with your embossing folders!
- Put some washi on the backing paper for jac paper or anything non-stick that you don't mind getting embossed! oh - don't use your craft mat as you can't make it 'flat' again!
- Put the washi and backing through your cuttlebug/bigshot. You can use C6 size embossing folders too - not just these skinny ones.
- Peel the washi from the backing and attach to your card or project - gently push or rub to adhere, careful not to press to hard along the raised image.
- Here are a few strips I have done with different embossing folders. You can still rub some dye ink gently over the raised image for more image definition too!
I've used Matte Aqua Washi Tape from Sawyer's Place for these examples; I'd love to see how you go trying this. Please share a link to your project in the comments below :-)
Thanks for stopping by!
Jen
:-)
Saturday, May 18, 2013
Tip 4: Die-ing with Washi
I thought I was fairly limited in using washi.
I couldn't punch it - it would stick to the punch unless I taped it to card first, then it negates the fact that it's adhesive tape; and it's not wide enough to use with my dies (and again with the whole being sticky thing!), or is it??
Tip 3: Washi Tape is PERFECT for Border Dies!!!!!
I have a number of border (and small dies) and recently tried putting them through my big shot with some washi - OMG I love this!!! It's easy as the washi doesn't move when you are winding the plates through, and all the fiddley little bits and bobs are already adhesive backed so no glue-messes for me, and using Tip 2 I can keep these bits as well!!
This make me a happy little vegemite! :-) I am so excited I just want to spend all day Die-ing my Washi!!
I just had to share my success and urge you to try your dies with your Washi Tapes as well so I took some photos for you to show you how I did it:
1. I put a strip of matte white slightly longer than my border die on the base plate, then stuck my clock washi directly over the top (It's a bit see through and I wanted solid colour). You can just tape your washi to you base plate if you like :-)
2. Lay the die exactly where you want it and put the top plate on the stack for your machine.
3. Rolled the stack through - be careful, your washi doesn't move but your die might - especially if your top plate is a little, warped (like me)!!
4. Remove the surrounding and inner pieces from the diecut wash tape - but do not throw them away!! Store them on your Clear Acetate from Tip 2!!
5. You now have a diecut strip of washi tape!! Use on a project straight away or pre-cut a few to store on some Clear Acetate to use in your projects later!! No more waste or gluey mess with fine die cuts :-)
I really hope you're as excited as I am - I'd love to see your projects using your Die'd Washi so leave me a comment with a link - please!!! I'll have an example of how I've used it in a full blogpost soon!!!
Thanks for stopping by!
Jen
:-)
Tuesday, May 14, 2013
Mum, with a bit of "Flair"!
I made this card for Mum for Mother's Day. I used a new die I bought at Paperific last weekend and an alphabet die-set I bought a couple of years ago and have only used once! I used the latest Wednesday Sketch from My Favourite Things for inspiration. MFTWSC123
I used some scraps of green patterned paper and some red and white cardstock on the pre-made cards and envelopes. I used more scraps for cutting out the letters for "Mum". To make it easier to stick them down as they're so thin, I stuck some double sided Jac Paper to the green card before I put it through the big shot, then it was simply peel and stick! For the flowers and Flair I used hot glue.
And for the inside of the card...
Ingredients:
Twiddleybitz - White C6 card and envelope
Sawyer's Place Washi Tape - Red polka dots, Cherries, White matt.
Sawyer's Place Flair - Cherries from Bianca Summer Collection
My2Angels - white flowers
Memory Box Co - Ringed Buckle Die 98186 (Red Flower)
Alphabet Dieset by - Provocraft
Stamp it - May this day 2437E
Alison Ellis Design - Double sided Jac paper
Stazon Ink - Olive Green
Adhesives - Stix2Anything
Hot Glue Gun
Miscellaneous red and white cardstock and patterned paper
TFL - Mwah! XXX
Jen
I used some scraps of green patterned paper and some red and white cardstock on the pre-made cards and envelopes. I used more scraps for cutting out the letters for "Mum". To make it easier to stick them down as they're so thin, I stuck some double sided Jac Paper to the green card before I put it through the big shot, then it was simply peel and stick! For the flowers and Flair I used hot glue.
And for the inside of the card...
Ingredients:
Twiddleybitz - White C6 card and envelope
Sawyer's Place Washi Tape - Red polka dots, Cherries, White matt.
Sawyer's Place Flair - Cherries from Bianca Summer Collection
My2Angels - white flowers
Memory Box Co - Ringed Buckle Die 98186 (Red Flower)
Alphabet Dieset by - Provocraft
Stamp it - May this day 2437E
Alison Ellis Design - Double sided Jac paper
Stazon Ink - Olive Green
Adhesives - Stix2Anything
Hot Glue Gun
Miscellaneous red and white cardstock and patterned paper
TFL - Mwah! XXX
Jen
Labels:
AED,
Cards,
My2Angels,
Sketch,
Stix2Anything,
Twiddleybitz,
Washi
Wednesday, May 8, 2013
Riley's Ransom
Another thing I love to do is use Chipboard on my projects! I ink, paint, cover with paper, leave naked, emboss, dry emboss, you name it - I've done it!! I am happy to report that covering chipboard with Washi Tape can be added to that list!!! It's super easy and quite effective - another way to get perfect co-ordination :-)
I placed the chipboard down - right side up on non-stick backing (you can use your non-stick craft sheet).
Ingredients:
Twiddleybitz Card and Envelope
Twiddleybitz Large Letter - R
Sawyer's Place - Sticky Paper "Ransom"
Sawyer's Place - Washi Tape: White, Red, Blue, Cromwell black
Adhesives by Stix2Anything
Twiddleybitz Card and Envelope
Twiddleybitz Large Letter - R
Sawyer's Place - Sticky Paper "Ransom"
Sawyer's Place - Washi Tape: White, Red, Blue, Cromwell black
Adhesives by Stix2Anything
TFL - Mwah! XXX
Jen
Thursday, May 2, 2013
Tip 3:Punching with Washi
I have discovered another way to get even more out of my Washi Tape - It is perfect for punching!
1. Grab an edge punch - any brand will do so long as you can get a continual pattern or design.
2. Adhere a strip of washi (long enough for your project)as close as you canto the edge of some removable backing (I used the backing from some sticky paper from Sawyer's Place) or transparency - but remember you're gonna punch holes in it so don't use your non-stick craft sheet!
3. Punch your border all the way along the washi tape.
4. Trim any little bits that didn't cut all the way through. You will notice most, if not all, the 'confetti' will fall out.
5. Peel from the backing and temporarily adhere to some transparency so you can experiment with placement on your project... (as seen in Tip 1)
6. Adhere to your project and embellish.
See - easy peasy and so effective!!!
Ingredients:
Twiddleybitz - Kraft Card and Envelope
Cream Cardstock
Alison Ellis Design Patterned Paper
Sawyer's Place Washi Tape - gold
Edge/border punch
Flourish With A Bling - Flower from Elise pack
Alcohol Ink - Pebble (to colour the centre of the flowers)
Scenic Route Paper Co - Rub ons
Stazon Ink - Black
Adhesives by Stix2Anything
I would love to see your creations using Washi tape and border punches - please say hi and leave me a link to your creation in the comments below!
TFL - Mwah! XXX
Jen
1. Grab an edge punch - any brand will do so long as you can get a continual pattern or design.
2. Adhere a strip of washi (long enough for your project)as close as you canto the edge of some removable backing (I used the backing from some sticky paper from Sawyer's Place) or transparency - but remember you're gonna punch holes in it so don't use your non-stick craft sheet!
3. Punch your border all the way along the washi tape.
4. Trim any little bits that didn't cut all the way through. You will notice most, if not all, the 'confetti' will fall out.
5. Peel from the backing and temporarily adhere to some transparency so you can experiment with placement on your project... (as seen in Tip 1)
6. Adhere to your project and embellish.
See - easy peasy and so effective!!!
Ingredients:
Twiddleybitz - Kraft Card and Envelope
Cream Cardstock
Alison Ellis Design Patterned Paper
Sawyer's Place Washi Tape - gold
Edge/border punch
Flourish With A Bling - Flower from Elise pack
Alcohol Ink - Pebble (to colour the centre of the flowers)
Scenic Route Paper Co - Rub ons
Stazon Ink - Black
Adhesives by Stix2Anything
I would love to see your creations using Washi tape and border punches - please say hi and leave me a link to your creation in the comments below!
TFL - Mwah! XXX
Jen
Subscribe to:
Posts (Atom)