Background

Showing posts with label Bead Pins. Show all posts

Monday, December 10, 2012

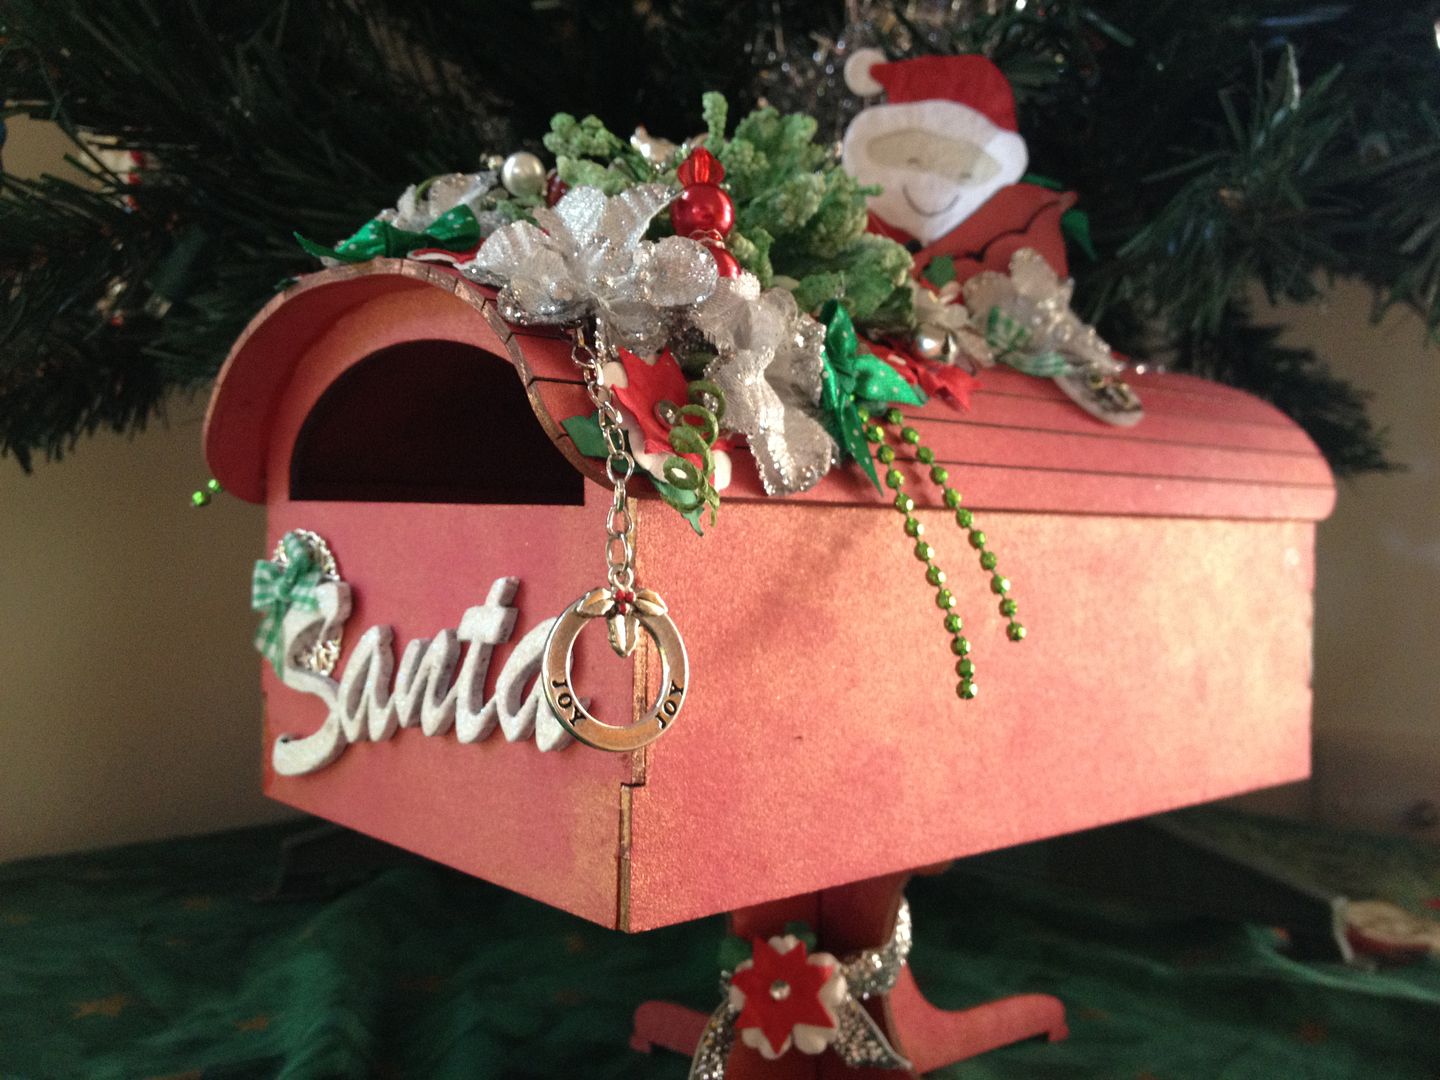
Santa's Mailbox

When I saw these new mailboxes from Twiddleybitz I just had to have one right away!  I started on it the second night I had it and colour-sprayed it first thing! Unfortunately I had to put it (and creating in general) aside for a while but I finally managed to finish it the other night.  I am quite please with how it turned out.. I got to use some of my favourite products and I love that I stuck to traditional red and green for Christmas.
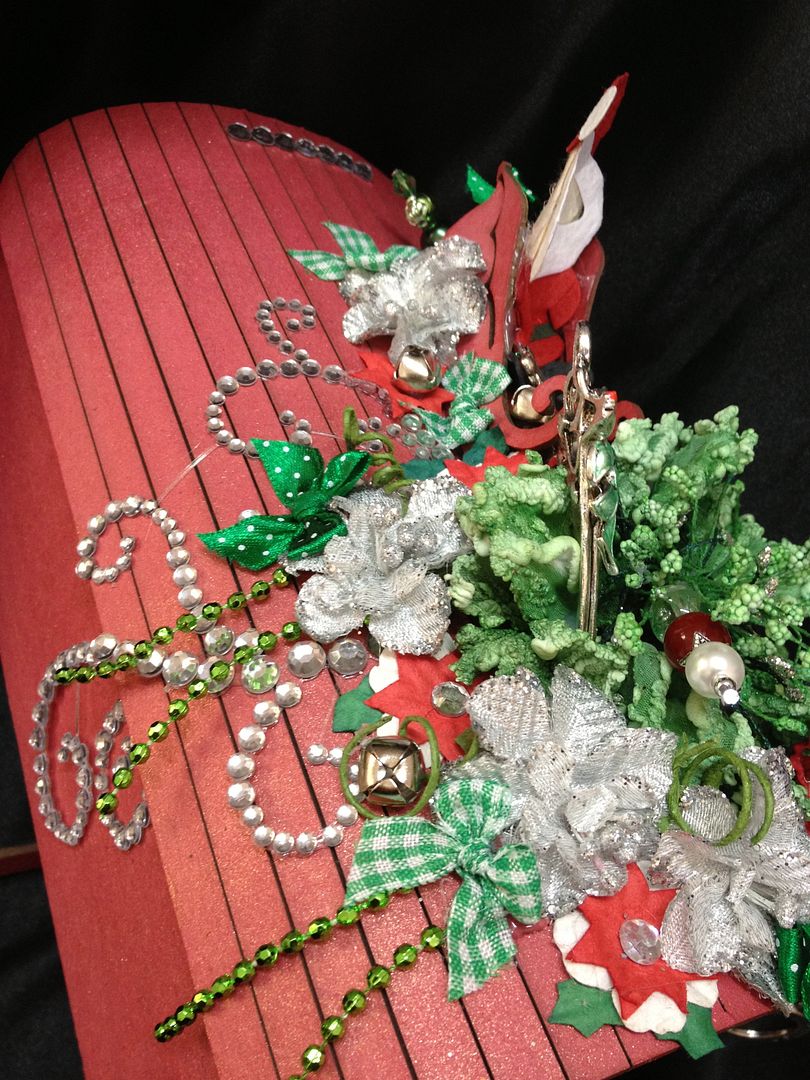
I followed the instructions sheet that was included to assemble and started gathering flowers and embellishments to decorate the top.  I started with the gorgeous Elise Flourish:
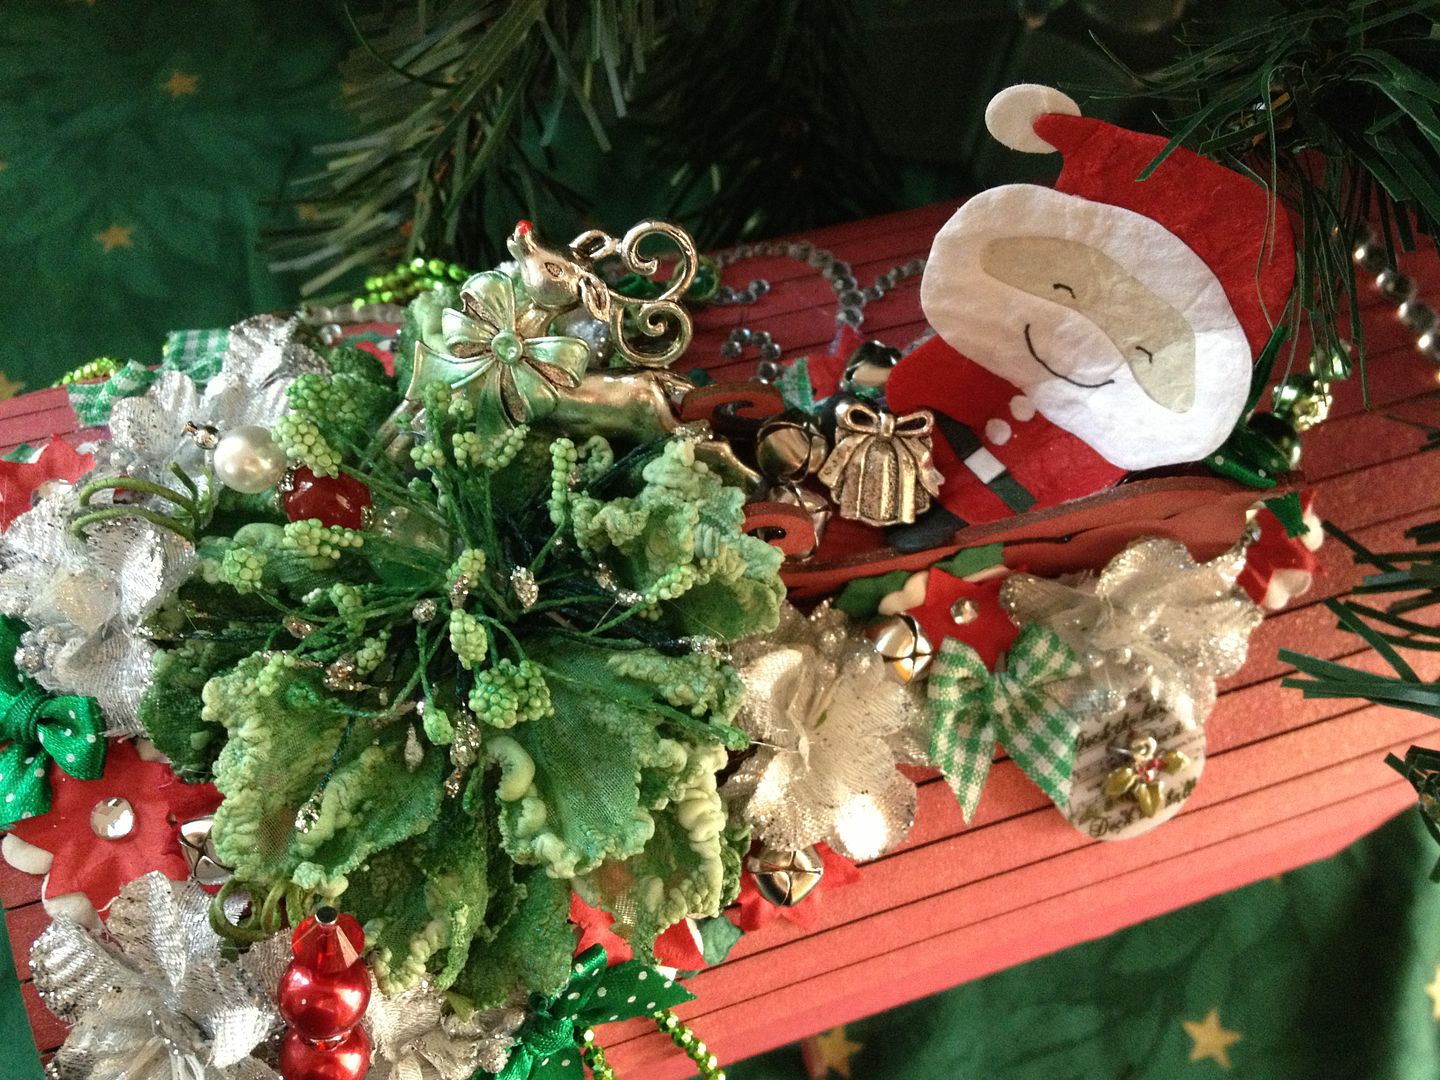
I made the small Twiddleybitz sleigh - added Santa and made Rudolph a bit fancy with my liquid pearls. I sprayed the Manorhouse Creations flower with the green colour spray from the halloween Lindy's Starburst pack:
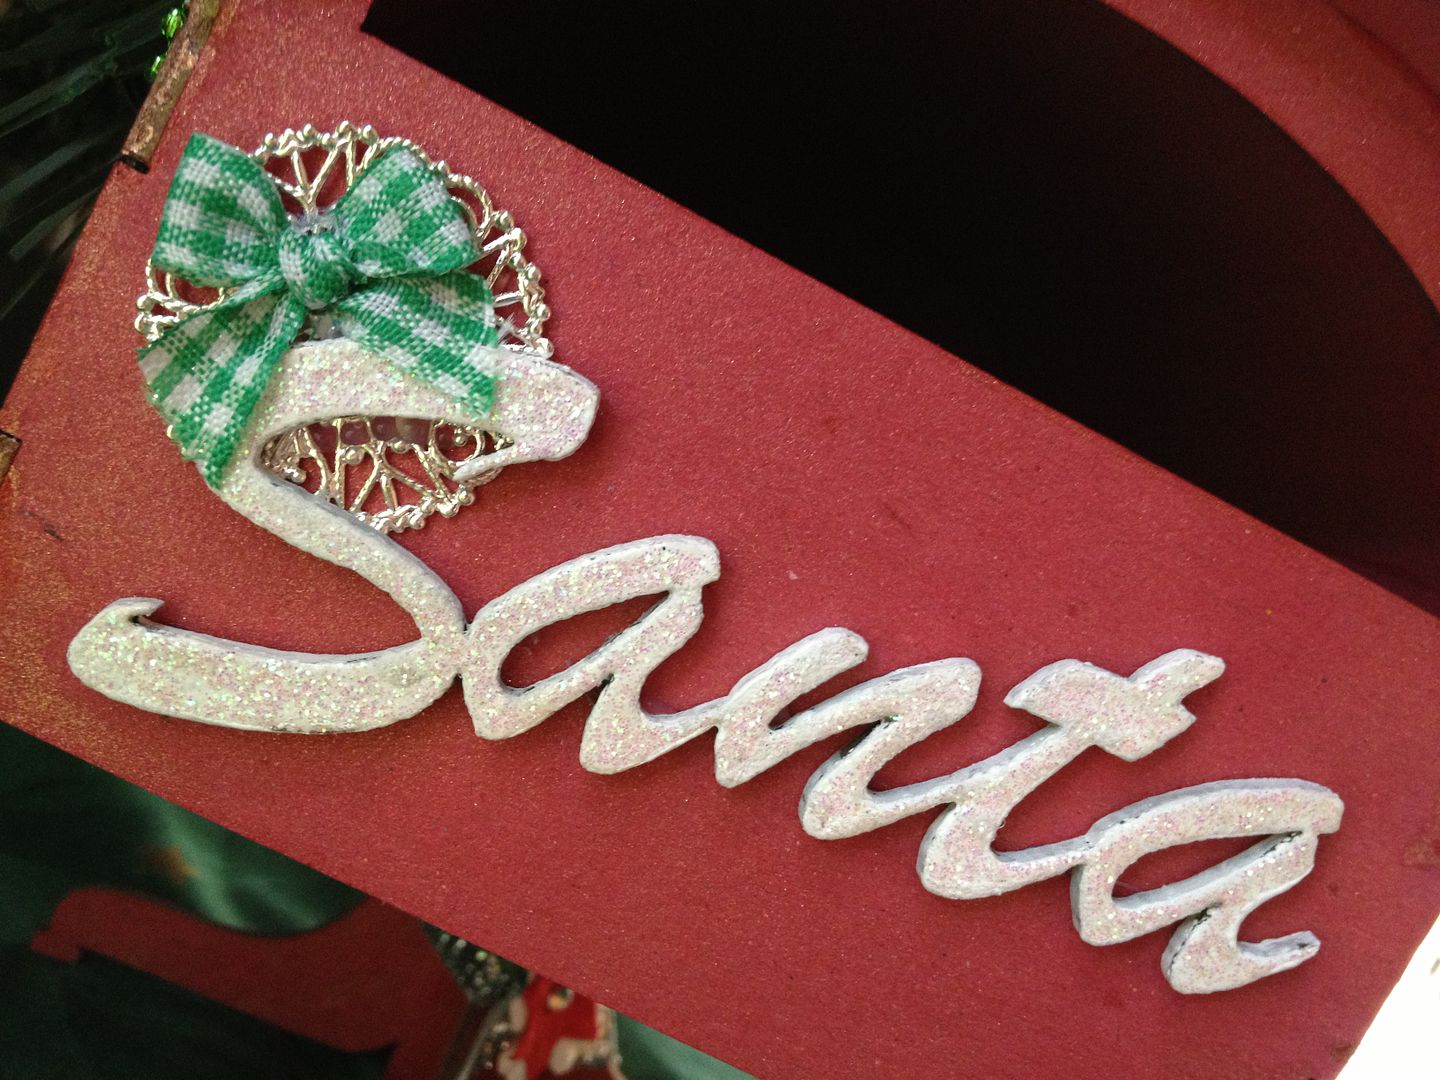
I covered the "Santa" with White Opals embossing enamels and completely covered in kindy glitz, it took a while to dry - then attached it with the embellishments from My2Angels.
Then I tied some matching ribbon around the stand and added a leftover flower.

Ingredients:
Twiddleybitz - Mail box Kit
Twiddleybitz - Santa word
Tattered Angels Glimmer Mist - Red nosed Reindeer
Lindy's Starburst - Freaky franken-lime
Manorhouse Creations - Winter Song - Log Cabin (lrg green flower)
Manorhouse Creations - small silver flowers
Flourish With a Bling - Elise Clear Rhinestone Flourish
Flourish With a Bling - Clear Rhinestones
Crochet By Kim - beaded pins - (Christmas set of 3)
My2Angels - all charms
My2Angels - all bows
My2Angels - all ribbon
My2Angels - all mini bells
My2Angels - Rudolf
Ranger - liquid pearls, ruby red and mint green
Pipe DreamINK - opals, snowgum
Matisse Derivan - Kindy Glitz, christalina
Green Tara - Santa die cut
I also used PVA by Stix2Anything to assemble the sleigh and mailbox.

I hope you like our new mailbox for our Letters to Santa!
Thanks for stopping by -
Jen
:-)

Wednesday, August 8, 2012

Mad As A Hatter

Do you know where this term originated? One possible explanation is Mercury used to be used in the making of hats.  This was known to have affected the nervous system of hatters, causing them to tremble and appear insane. Science tells us: "Mercury exposure can cause aggressiveness, mood swings, and anti-social behaviour.", so this explanation is entirely plausible although there's only circumstantial evidence to support it :-)

Anyhoo - The fabulous Twiddleybitz have designed a gorgeous Off The Page Item that is none other than a Top Hat!!  I have been dying to complete one for a while but wanted to wait a little bit to get it 'just right' LOL  As many of you know - I love my hats and I wanted to do this one properly!

These hats are not listed on the website currently and must be requested by retailers, HOWEVER - they will be for sale at Melbourne's Paperific Show, August 31- September 2.  Based on the way the sold out in Brisbane after day1, I suggest you make the Twiddleybitz stall your first stop - and a Top Hat your first purchase!!

***These hats are available at My2Angels for only $16.99!!!!  Click HERE to go shopping!***

I can never seem to get the red to show true in photos :-(  BUT you get the idea!
  • Paint the Brim and top of the hat and assemble as per the instructions enclosed with your kit.
  • Paint the cubby hole area and back panel
  • Ink all panels of the curved front red using your inkpad direct to the chippy
  • Ink flourishes, gates, border, and clock using the same technique
  • Place tape over 2 panels - bend along the score and carefully slice the washi tape along the score line, skip a panel and cover the next panel in the off-cut of washi tape.  Repeat until all alternating panels are covered in washi tape.  any places you miss due to wonky cutting, just colour in with your black pen :-)

  • Add the pearls to the clock and use the pen to define the clock hands. Place all decorations inside the cubby hole.  Be aware the cutout is smaller than the hole and it is almost impossible to glue in and decorate after the front panel is attached.
  • Attach the panelled piece to the top hat as per the instructions
  • Attach the gates, and beads on chain - wrap the tassel in a little of the washi tape offcuts to compliment the hat design, and attach the tassel to the gates
  • Attach the border, the ric rac and the chipboard flourishes
  • Add the Chloe Pearl Flourishes
  • Add the feathers and Manorhouse Creations flowers
  • Finish by adding the custom-made bead pins.

Ingredients:
Twiddleybitz Top Hat
Twiddleybitz Swirl Flourish Vine (FLOR024)
Twiddleybitz Hearts Wrought Iron Border (BOR016)
Twiddleybitz Ornate Hanging Clock (OHC001)
Twiddleybitz Opening Gates (GAT002) used without the surround
Mont Marte acrylic paint - black
Stazon Ink - Black
Ranger Distress Ink - Black soot & Festive Berries
Sawyer's Place Washi Tape - Black and White Ophelia Insanity Script
Flourish With A Bling - Chloe Pearl Flourish BlackFlourish With A Bling - Chloe Pearl Flourish Red
Flourish With A Bling - Adhesive Pearls Black
Flourish With A Bling - Adhesive Pearls Red
Manorhouse Creations - Flowers, Ballroom Tango (BFTANGO)
Crochet By Kim - Bead Pins, Red n Black custom-made
My2Angels - Black Tassel
My2Angels - Red Velvet RicRac
Stampin Up Stamp n Write Marker - Basic Black
Miscellaneous Feathers; and beads on chain

And some shots from the sides...


I hope you are inspired to try your hand at 'hat -making' or millinery :-)  please leave a comment and a link if you do so I can see your lovely creations!  All the information above can also be found in the Twiddleybitz Ning community in the tutorials section.

Thanks for stopping by
Jen
:-)

Tuesday, August 7, 2012

Baby Girl Nightlite

Fabulous news is my Cousin is pregnant expecting her first child.  She recently found out she is going to give birth to a beautiful little girl :-)

I couldn't resist buying this for $5 from K-Mart the other day when I saw it... embellished it - love how it turned out, I hope she does too when I eventually part with it in December!


 And with the room lights out...

and a side view :-)
  • I swirled a little perfect pearls on the Petit Roses and on the white inked chipboard.
  • I lightly dragged the white ink along the bottom edge of the shade so as to soften it a bit.

Ingredients:
$5 pink nightlite from KMart
Twiddleybitz - Banner Small and Large Flags (BAN002)
Twiddleybitz - Baby Basics (BAB001) - feet and bib.
Twiddleybitz - Bag of Love Set 12 (BAS013) - smallheart
Manorhouse Creations - Jubilee Princess Pink (SAF0006prin)
Manorhouse Creations - Petit Roses Marshmellow (MHCPetimars)
Crochet By Kim - Baby Rattle bead pin
My2Angels Charms - Teddy Bears
My2Angels Charms - Baby with Bottle
My2Angels Charms - Babies Pram
My2Angels - White bow with pink dots
Brilliance Moonlight White Archival Inkpad
Blazing Red Stazon Inkpad
Papercraft Clear Cling Stamps - Baby
Ranger Perfect Pearls Powder - Pink Gumball
Pink Plastic mini pegs  - $2 shop
Miscellaneous Ribbon, mini resin hands, and clear circle word embellishments

Thanks for stopping by
Jennifer
:-)

Wednesday, July 11, 2012

She's Got "The Look"...


I love this photo of Erin - it's so me, and so my mum, and so her mum... that look over the glasses has been passed down through the generations!

I started out with perfect pearls, water, a minimister, dusty concord distress re-inker and the butterfly WOW Altamatz.  I love how this template changed my background!  I also sprayed my big flower with the purple spray and used my Martha Stewart corner bubbles punch to alter it - I love how effective this is and will be trying a few more on my flowers down the track!

Add some patterned paper from AED; some ribbon from Geen Tara; and some gorgeous Flourish With a Bling Purple Chloe Pearls; some more My2Angels flowers and a rose charm.  I also couldn't help using the gorgeous flowers from Manor House Creations. I couldn't go past using my beaded pin and the next dilemma I had was the journalling!

Too many times these days I see 'pretty' layouts that are just that - pretty, but they don't tell the story behind the photo.  I used to teach people that one of the main things with scrapping your photos was you no longer had to sit and explain every shot and your thoughts about it..but somewhere in the last 10 years, journalling seems to have been forgotten more often than not!  A great inspiration to me when it comes to journaling is my long-time friend Peg Hewitt.  Peg is an extremely talented scrapper who never omits the important stuff - journalling!  So inspired by Peg - I got my Dymo labeller out.  I used the paper to paper cartridge and printed out my journalling.  The only problem was - it was still white!! I decided it would be awesome if it was purple, but since I didn't have purple tape - I would have to make it purple!  I used Tim Holtz' sponging technique with distress ink and 'purples' my dymo journalling!  I had to wait a bit for it to dry before sticking down - but well worth the wait i think!

Thank you for stopping by and I hope you feel inspired to create, to journal, and to hopefully try some new techniques!!
Ingredients:
Cardstock - White Bazzil Linen
Patterned Paper - A Formal Affair Lounge Suit Music by Alison Ellis Design
Perfect Pearls - Grape Fizz
WOW Altamatz - Butterflies
Flourish With A Bling - Chloe Purple Pearl Flourish
Manor House Creations - Ballroon Waltz (Purple Lace Flower)
Manor House Creations - Country Lane - Purple
Martha Stewart Punches - corner bubbles
Crochet By Kim - Beaded Purple Bow Pin
Green Tara - Assorted Ribbons
Tim Holtz Distress Ink - Dusty Concord (my FAVOURITE colour)
Tim Holtz Distress Re-Inker - Dusty Concord
Dymo Labeller - Paper Tape cartridge, italic font, second largest font
Stix2Anything - Double-sided Tape

Thanks again
Jen :-)

Sunday, July 1, 2012

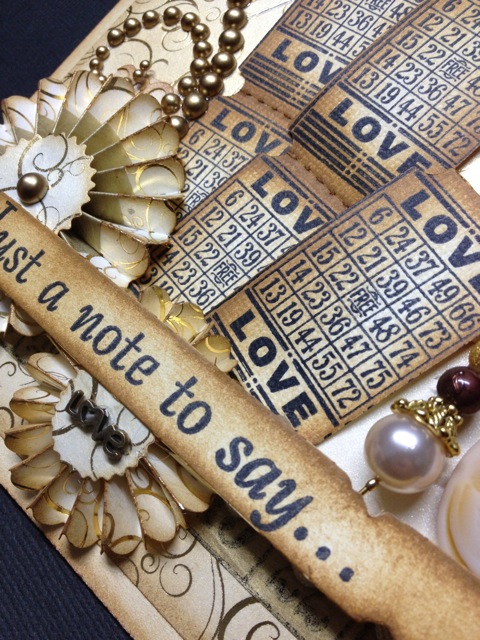
Just a note to say...

I really love brown, cream, and gold :-)
I was given these fabulous new stamps to trial by the lovely Tracy at My2Angels - they are from Kaiser and fit OMG so perfectly into the ticket stub die from Tim Holtz.  The card was basically created around them!

I also got to use my gold washi tape and stamp on that across the bottom of the card although you can hardly see - and use it in the centre of the large rosette.  I added a beaded pin from Crochet By Kim and some Flourish With a Bling pearls of course!  I also added a charm of Tracy's and one of her gorgeous Cameos and used my banner die, tab die, and new Martha Stewart bubble punch too!

And inside...
And the usual closeup :-)
Ingredients:
Twiddleybitz Cream Shimmer card
White cardstock
Alison Ellis Design Patterned Paper
Crochet by Kim - Antique Pin
Kaiser  Miss Match - Bingo Cards clear stamps from My2Angels
Gold Washi Tape
Distress Ink - brushed corduroy and vintage photo
Tim Holtz Tattered Banner Die
Tim Holtz Rosette Die
Tim Holtz Tab Die
Tim Holtz Ticket Die
Stazon Black Ink
Cream Ric Rac
Martha Stewart Bubbles Punch set
Miscellaneous stamp - Just a note to say...
Stampin Up stamp - You're never more than a thought away

Thanks for stopping by!!
Jen

Sunday, April 1, 2012

Bead Pins!!!

The card below was made with the new Alison Ellis Design papers - "You're Invited".
 I didn't like the paper at first but it's beautiful like this as a background.  I also added Flourish With A Bling diamonte's to the centre of the pieces of the pattern - I think it's very effective!  I love how effective it is on the envelope too :-)

This is a white 5Petal flower from Crochet By Kim.  I added the brand new Bead Pin also from Crochet By Kim and the I love you notepad charm from My2Angels.  I love this combination and coiling the bottom of the pin just finishes it off :-)

Thanks for stopping by!!
Jen

You're Invited!!

I have always wanted to explore Faberge' style eggs.  
Recently at the Brisbane Stitches and Craft show The Logan Egg Artistry club had a booth.  I was excited and inspired and the new "You're Invited" papers from Alison Ellis Design were perfect for the basic decoration... 
add some bling, some flowers, and some of the new bead pins from Crochet By Kim and you have a Faberge' Egg, a la Jen!

A close-up of the cluster at the back of the egg with charms, flowers, bead pins, a tassle, and ribbons.

The Purple Chloe Flourish With A Bling Pearls are b e a utiful!!

The stand is actually the bottom part of a Twiddleybitz "Miss Charlotte" 
(I chopped her off at the knees! LOL)

Thanks for stopping by
Jen

Wednesday, March 28, 2012

Paperfic/Easter Sneak Peak :-)

My latest 'big' project for AED for the new papers.... an OTP

And my latest card for AED for the new papers - a popup card

Am completely pressed for time so only just had the chance to post this for you, I can't wait for the reveal just after paperific!

TFL - Mwah! XXX
Jen