Background

Friday, December 28, 2012

Happy Birthday...

I made this card recently for a friend whose favourite colour is blue :-)

  1. I die cut the tag shape from a piece of card so I could use the negative as a stencil and graduated the three distress ink colours using the sponging method.  
  2. I then sprayed the Manorhouse flowers with blue colour spray to deepen the colour
  3. I stamped the happy birthday greeting in midnight blue stazon
  4. While the flowers dried, I stamped the envelope, sponged it, and dragged the stazon inkpad around the edges of the envelope and card for definition.  
  5. I stamped inside the card with another birthday greeting
  6. Then attached the flowers with hot glue.

Ingredients:
Twiddleybitz - White C6 Card
Manorhouse Creations - blue flowers
Tim Holtz Distress ink -
Stazon Ink - Midnight
Die Cut Shape -
Miscellaneous happy Birthday Greeting
Stamp It greeting - Happy Birthday (inside the card)

TFL - Mwah! XXX
Jen

Hello Stranger!

Hello Everyone!

My depression unfortunately has been overshadowing much of my life recently and I have had a harder time than normal dealing with it.  Probably because it came on in a different way - not with my usual triggers, so I was denying that I'd had a relapse.

Recently I found the courage to open up and tell my mum about a secret I've kept for 25years.  I am not ready nor strong enough to say it here (perhaps I'll write a book about it), this was very hard for me to do, and it's just as hard for me to talk in riddles but I feel the need to justify myself and apologise for my absence.  I have obligations to companies and I have not recently fulfilled them, the guilt is eating me up.

2012 has been a very rough year for me personally, but I am looking forward to 2013.  There are so many things to be thankful and positive about so I will focus on them.

  • My Cousin Lee had her first baby last night. Isabella Jayde and Lee are both healthy and happy.  I am so proud and soppy right now!  Lee is more like a little sister to me than a cousin.
  • My Mum is moving forward and while the next few months will be hard for her, i believe she Will be happier than she's ever been.  I see a woman who's been downtrodden and 'old' for so long finally emerging from her old life like a butterfly emerging from a cocoon.  I am here for her and will support her in every way possible.  I want to rebuild our relationship and have my best friend back.
  • My children are growing up!  They are healthy (mostly - and when not, we are managing the issues!), and happy although they fight like cats and dogs - but that's normal!!  My baby first born is 12 years old now and next year will be in his final year of primary school - he's worked so hard and I'm so proud of him.  
  • My baby girl is growing up too fast - 10 going on 25, head strong, and independent.  I have no idea where she gets it from but I (think) I'm ready to meet her and guide her and encourage her!  She's smart and creative and I can't wait to share her achievements with her - starting with her position in the Australian Youth Choir!
  • My Smiley Riley - will be my baby boy forever, But - he's 8 now and finally starting to be independent and develop his own personality instead of being overshadowed by his older siblings.  He too has been offered a position in the Australian Youth Choir and is looking forward to meeting other boys whom like to sing!  I am so proud of him.
  • I have planned time away for myself and the kids in January before school goes back, so excited to be taking them on a road trip - just the four of us, it's a first!!
  • 2 working trips to Melbourne are planned for Paperific...
  • A trip to New Zealand to teach again at Paper Scissors Chocolate retreat in Auckland :-)
  • A trip to Ayers Rock for Easter with my wonderful supportive man.
  • I have a goal - to lose 32kg + in 52 weeks.  I MUST do this.  My health, my life, depend on it in sooo many ways.
  • There are may more but I'll not list them all here just now! LOL
I like to be busy and hate to let anyone down.  I am told to trust people more, to open up so they can prove I can trust them as they are sure to understand and/or support me, that I am not alone in the world.  So thank you - from the bottom of my heart, for reading this far and for being my friend.  It means more than you could know!

I hope you all had/are still having(!) a Merry Christmas and a beautiful, bright, and promising New Year for 2013!  


Jen

Friday, December 14, 2012

Dec 25th - Faux Washi


Hello Everyone, I'm here today with my first official post for Stix2Anything!

Being on a tight budget, versatility is a very important thing for me, so today I wanted to show you how versatile the Stix2 products can be!

I have stencil tape, it's a low tac tape designed to adhere, be removed, and re-adhere a number of times for using in stencilling (holding the stencil in place while using different medium for effect)
I'm sure you've seen the popularity explosion of Washi tape - well I have so many stamps - and over 80 ink pads that also I'm compulsive and purchase Washi tape - I also make my own using stencil tape!

First you design your card and decide on the colour and style you need.
Then you adhere a length of the stencil tape to your non-stick crafting sheet and colour with your ink and sponger - experiment with different types of ink and application techniques as water-based inks will have a different effect to alcohol based inks etc... and also taking into account the tape is cream in colour, not white - to begin with.

Then use a permanent ink to stamp your design on the tape - I've used stazon and made sure to stamp off my tape as well so that it's less rigid and 'ribbon-looking' if you know what I mean!
(and don't worry, the permanent ink does come straight off with a bit of stazon stamp cleaner :-))

so now we have made our washi tape we adhere it to our card/project (remember it may still be slightly transparent)

and here's a closeup -

To make the card I have used a pre-scored and folded card - inked the edges of the card and the patterned paper panels with the same colour ink I used for the tape.
I used Stix2 double sided tape to attach the paper panels to the front of the card.
I stamped my 'Dec 25' greeting in the stazon ink for longevity and again used the inks around the edges of the diecut.
This was then attached to the front of the card using the Stix2 adhesive foam tape.

This was a very simple card but the focal point is the eye-catching home-made faux washi tape :-)

I hope you like my first card and enjoy making your own washi tape!
Be sure to visit the Stix2Anything website to grab some stencil tape and get creating!
Jen
:-)

Ingredients:
Adhesives - Stix2Anything double sided tape, adhesive foam tape, stencil tape
Stix2Anything non-stick crafting sheet
Twiddleybits pre-scored and folded white card 13x13 cms
Patterned paper by Alison Ellis Design
Joy stamp by Sparkle n Sprinkle - available through Alison Ellis Design
Tsukineko Stazon innk - Olive Green
Ranger/Tim Holtz Distress Ink - Picket Fence
Kaiser Stamp Set CS727 - Dear Santa Collection
Mpress nesting scallop die

TWBZ Wreath Card

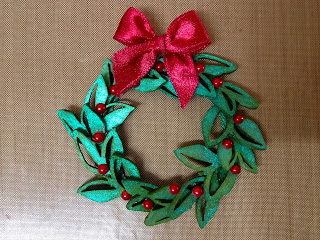
I had so much fun making this card and it all started with a few branches!!


Intructions:
First I sprayed the leaves both sides with green sparkly spray:
 Then I cut a wreath using two circle cutters through my bigshot:
 I cut the leaves so they were separate parts and gave them another spray to really sparkle:
Once dry, I laid the leaves out and began attaching them to the wreath:
 I had a few spare:
 Then I added some bling for berries:
 And a bow at the top (that I later changed to white):

Ingredients:
Cardstock - red
Cardstsock - white embossed
Red Green and White striped Ribbon
Green Tara - White pre-tied bow
Twiddleybitz - Alpha Square (ALP004)
Twiddleybitz - Fern Leaves Set of 4 (FER001)
Flourish With A Bling - Adhesive Pearls - Red
Lindy's Starburst Stain - Green Goblin
Adhesives by Stix2Anything


Thanks for stopping by - I hope to see you creating wreaths of your own - let me know when you do!!
Jen
:-)

Monday, December 10, 2012

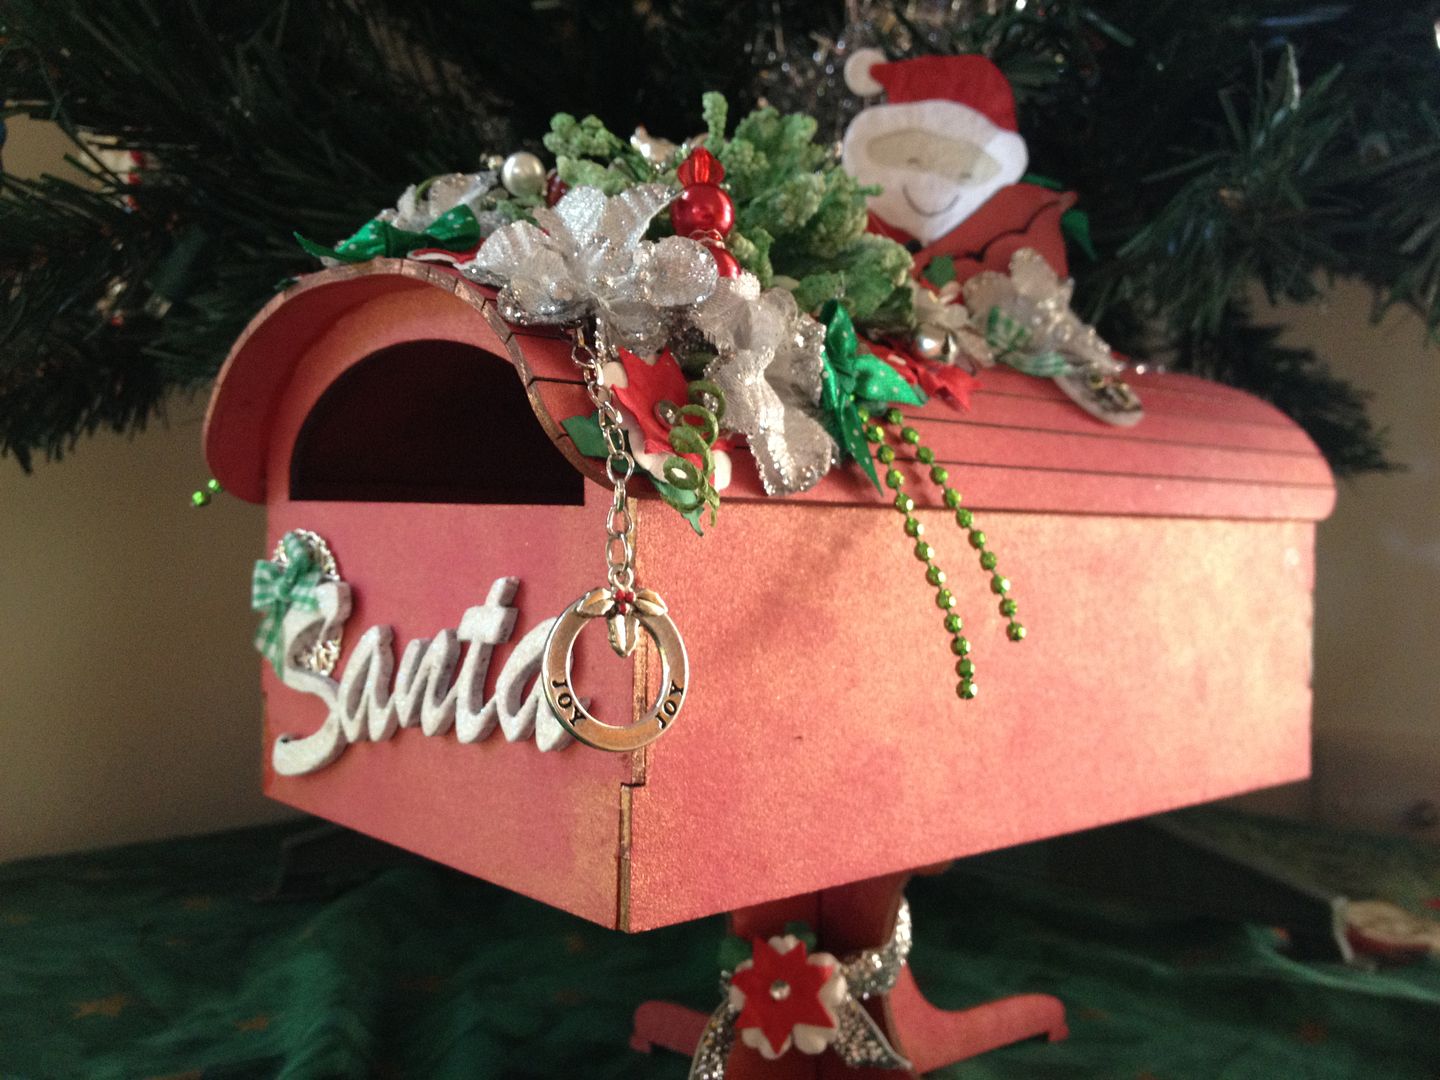
Santa's Mailbox

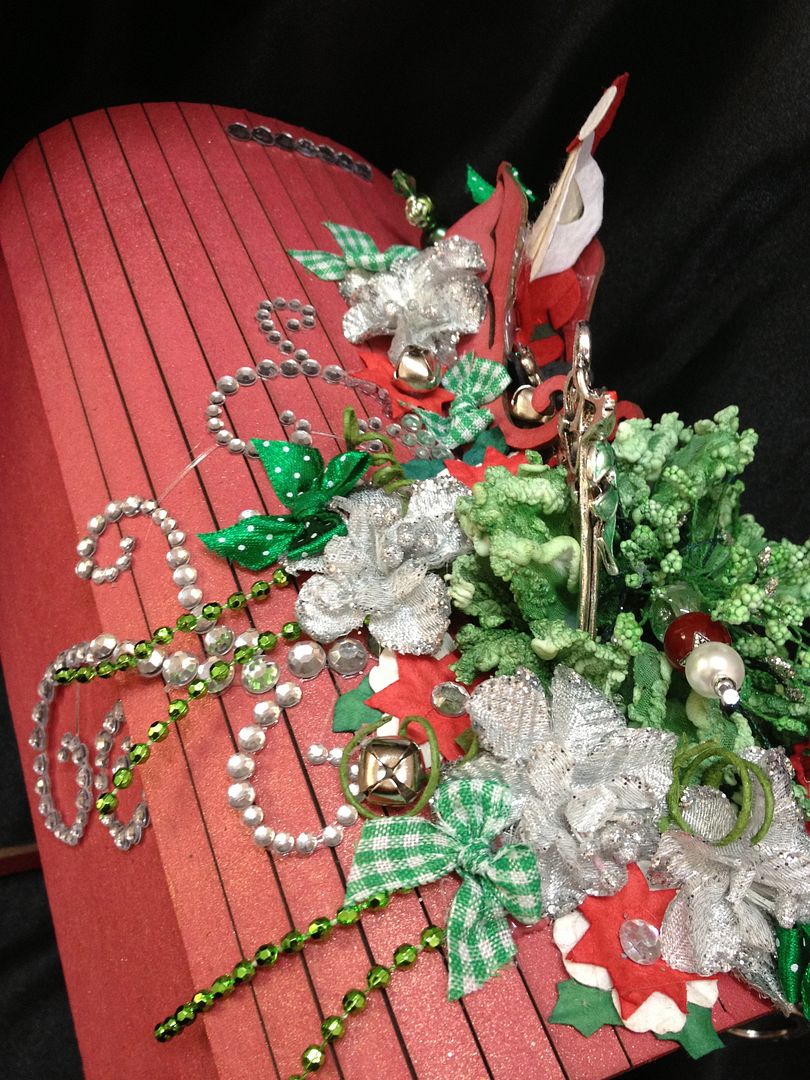
When I saw these new mailboxes from Twiddleybitz I just had to have one right away!  I started on it the second night I had it and colour-sprayed it first thing! Unfortunately I had to put it (and creating in general) aside for a while but I finally managed to finish it the other night.  I am quite please with how it turned out.. I got to use some of my favourite products and I love that I stuck to traditional red and green for Christmas.
I followed the instructions sheet that was included to assemble and started gathering flowers and embellishments to decorate the top.  I started with the gorgeous Elise Flourish:
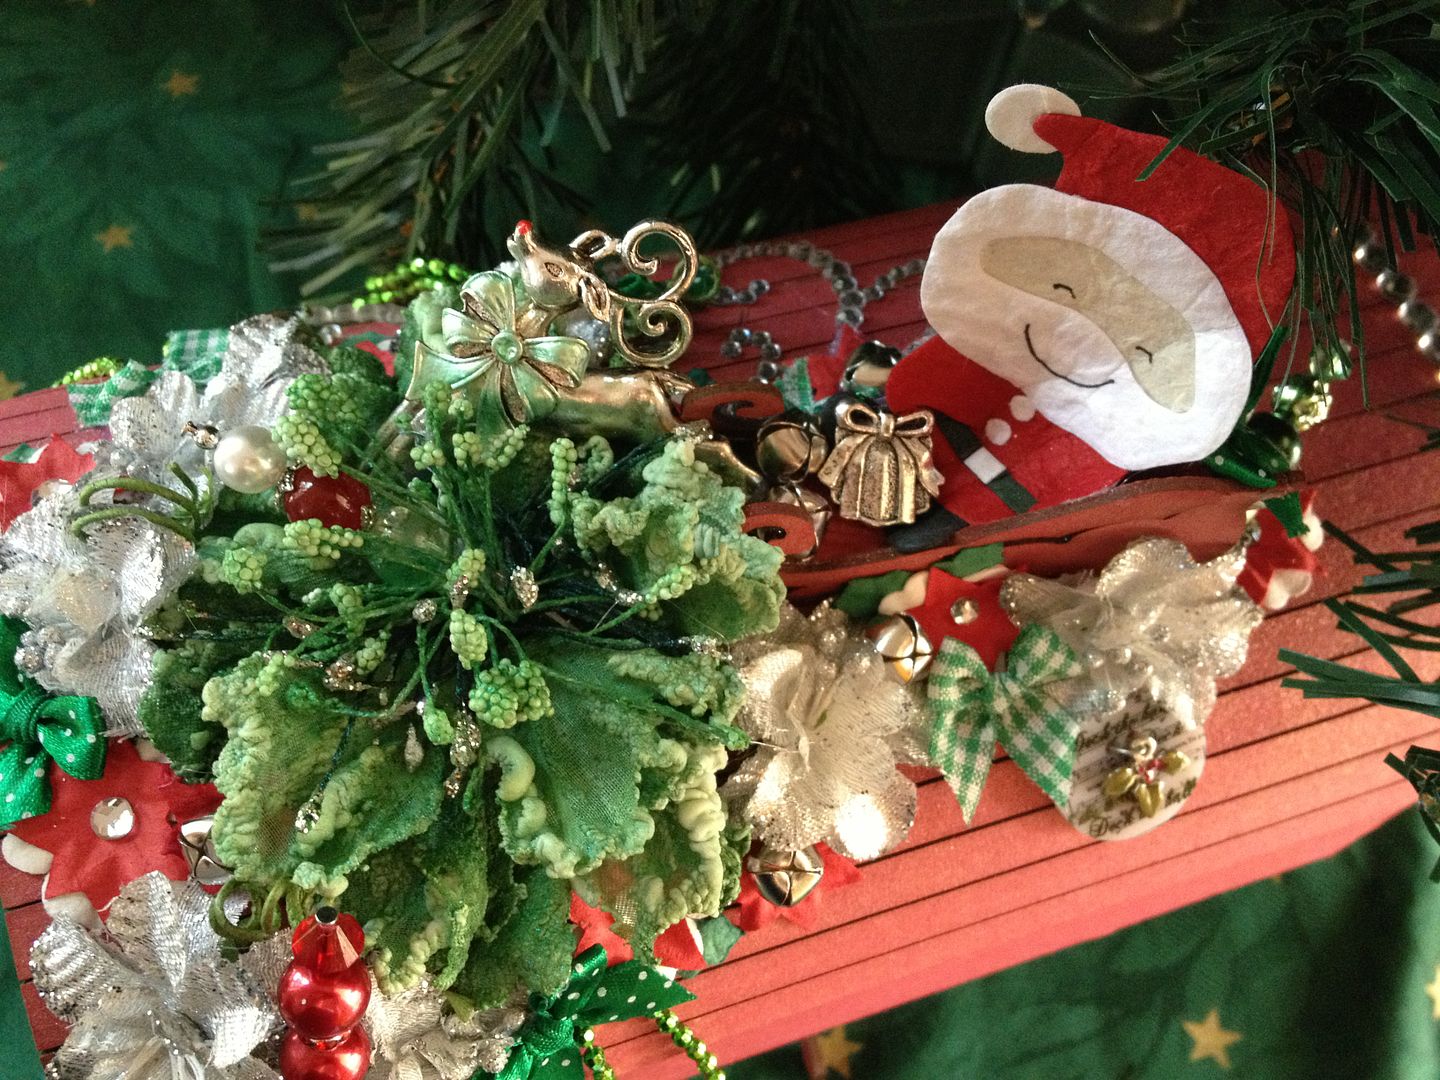
I made the small Twiddleybitz sleigh - added Santa and made Rudolph a bit fancy with my liquid pearls. I sprayed the Manorhouse Creations flower with the green colour spray from the halloween Lindy's Starburst pack:
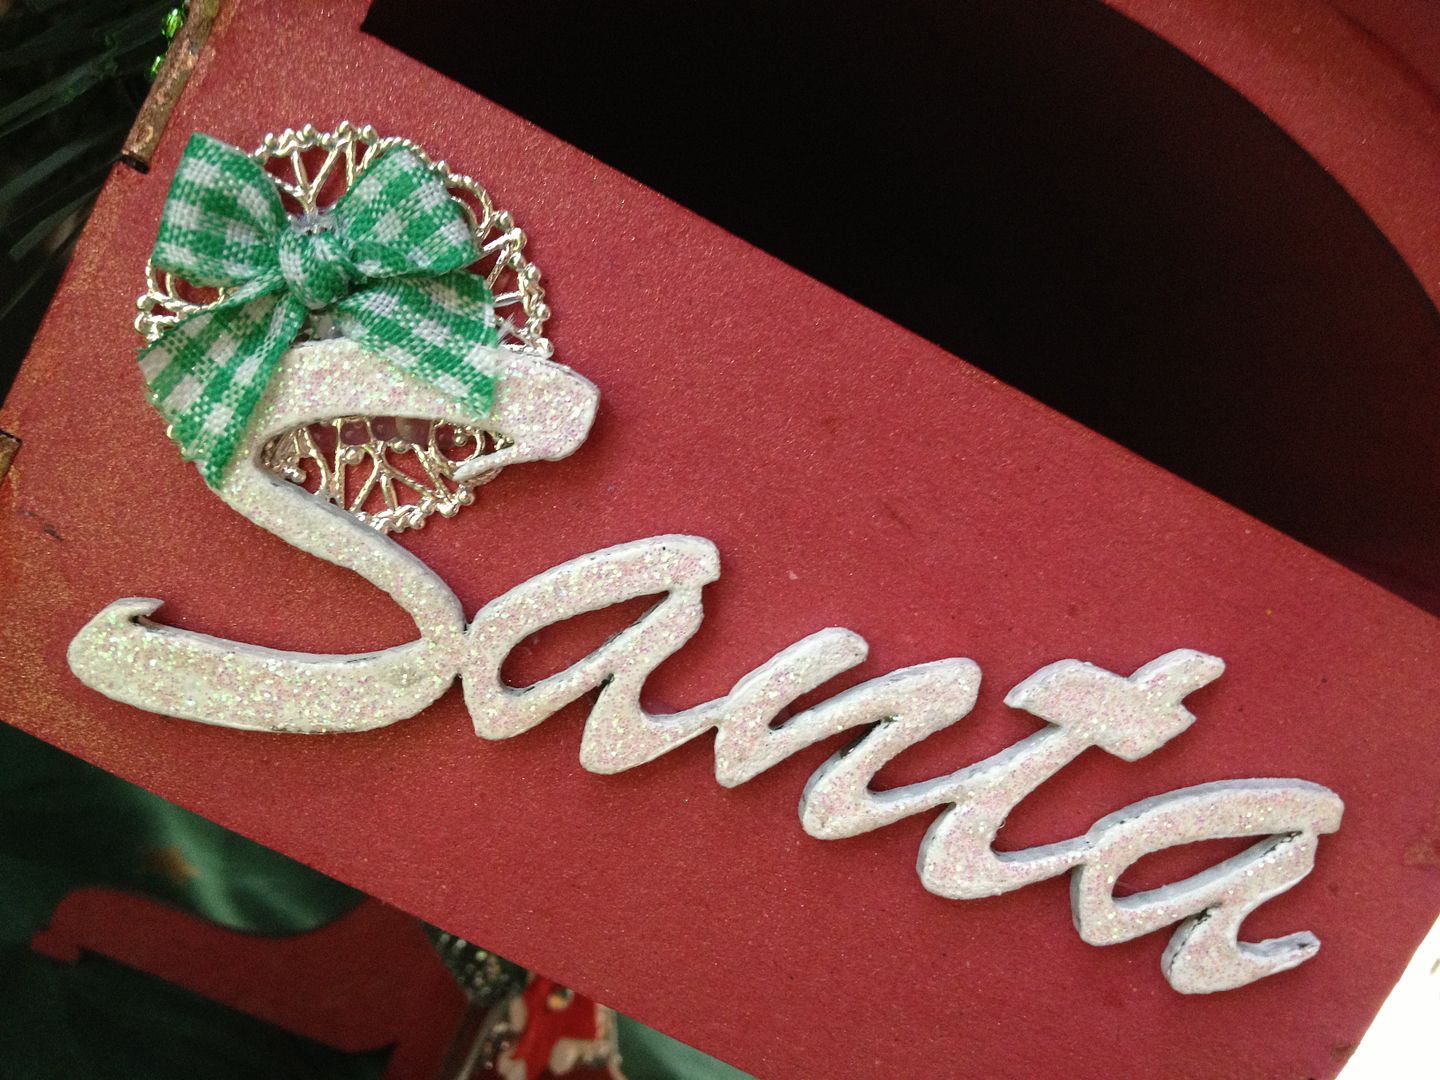
I covered the "Santa" with White Opals embossing enamels and completely covered in kindy glitz, it took a while to dry - then attached it with the embellishments from My2Angels.
Then I tied some matching ribbon around the stand and added a leftover flower.

Ingredients:
Twiddleybitz - Mail box Kit
Twiddleybitz - Santa word
Tattered Angels Glimmer Mist - Red nosed Reindeer
Lindy's Starburst - Freaky franken-lime
Manorhouse Creations - Winter Song - Log Cabin (lrg green flower)
Manorhouse Creations - small silver flowers
Flourish With a Bling - Elise Clear Rhinestone Flourish
Flourish With a Bling - Clear Rhinestones
Crochet By Kim - beaded pins - (Christmas set of 3)
My2Angels - all charms
My2Angels - all bows
My2Angels - all ribbon
My2Angels - all mini bells
My2Angels - Rudolf
Ranger - liquid pearls, ruby red and mint green
Pipe DreamINK - opals, snowgum
Matisse Derivan - Kindy Glitz, christalina
Green Tara - Santa die cut
I also used PVA by Stix2Anything to assemble the sleigh and mailbox.

I hope you like our new mailbox for our Letters to Santa!
Thanks for stopping by -
Jen
:-)

Sunday, December 9, 2012

Lennox

For a beautiful bouncing little boy whom arrived on Saturday.

Ingredients:
Bazzil Cardstock
Stazon black ink
Twiddleybitz - Itty Bitty Alpha in pink - coloured black with stazon
Twiddleybitz - Baby Bunting (BOR028)
Flourish With A Bling - Adhesive Rhinestones - Antique Brown
Ranger/Tim Holtz - crackle paint
Ranger - Liquid Pearls (onyx)
Matisse Derivan - Kindy Glitz
Foam Tape from Stix2Anything
Assorted Ribbon

Thanks for stopping by!!
Jen
:-)

Flourish With A Bling - Nov Challenge


Just realised this never published (from a few weeks ago now!)  Sorry!!


Hello Everyone!

Well I've finally gotten around to showing you my take on the November challenge with Flourish With A Bling - I used the sketch for a Christmas Card...
From this sketch - 
 A close up of the Elise I've cut up and re-set....
Ingredients:
Twiddleybits card
Kaiser papers
"Elise" flourish and flower from Flourish With a Bling!
Doily die from My favourite things
Ink and distresser
Bow from Green Tara

Thanks for stopping by!
Jen