1. Grab an edge punch - any brand will do so long as you can get a continual pattern or design.
2. Adhere a strip of washi (long enough for your project)as close as you canto the edge of some removable backing (I used the backing from some sticky paper from Sawyer's Place) or transparency - but remember you're gonna punch holes in it so don't use your non-stick craft sheet!

3. Punch your border all the way along the washi tape.

4. Trim any little bits that didn't cut all the way through. You will notice most, if not all, the 'confetti' will fall out.

5. Peel from the backing and temporarily adhere to some transparency so you can experiment with placement on your project... (as seen in Tip 1)

6. Adhere to your project and embellish.

See - easy peasy and so effective!!!
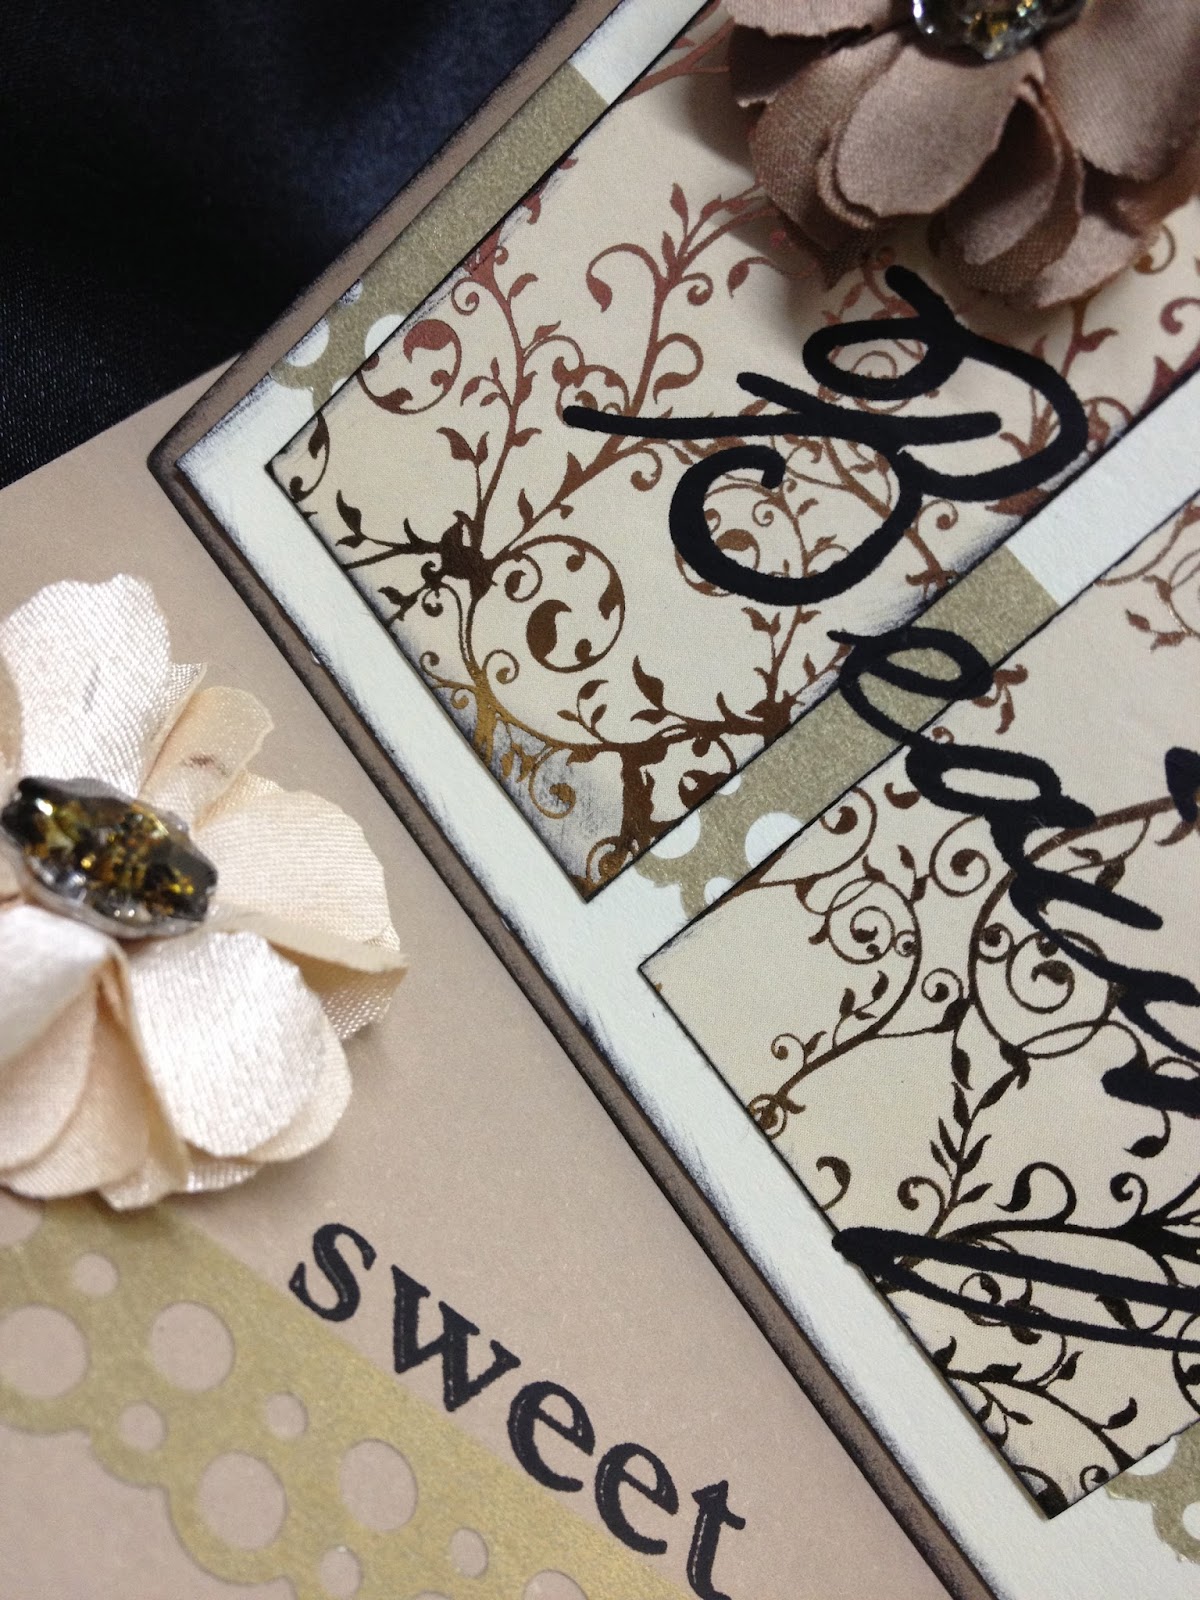
Ingredients:
Twiddleybitz - Kraft Card and Envelope
Cream Cardstock
Alison Ellis Design Patterned Paper
Sawyer's Place Washi Tape - gold
Edge/border punch
Flourish With A Bling - Flower from Elise pack
Alcohol Ink - Pebble (to colour the centre of the flowers)
Scenic Route Paper Co - Rub ons
Stazon Ink - Black
Adhesives by Stix2Anything
I would love to see your creations using Washi tape and border punches - please say hi and leave me a link to your creation in the comments below!
TFL - Mwah! XXX
Jen
No comments:
Post a Comment
Please leave a comment - it's nice to be appreciated and it's great Karma!